|
|
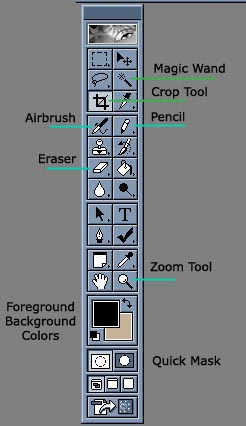
Getting to know PhotoshopFirst things first: You need to get to know the main tools I will be referring to throughout the tutorial. The key ones I have highlighted to the left (and labeled for you.)
|
|
|
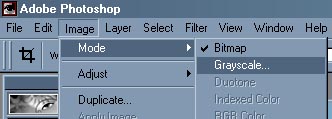
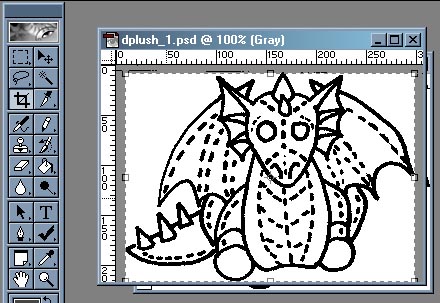
3) Set the image mode to Grayscale via the menu under Image > Mode> Grayscale (Set the Ratio to 1)
|
|
|
4) Now, using the exact same menu, then set it to RGB Color. You cannot go from Bitmap to RGB directly, sorry. |
|

|
|
5) Crop the image using the CROP tool by outlining the image until the drawing either barely touches the edges or meets it at a point. This gets rid of negative space and pixel borders that you do not want/need. |
|
|
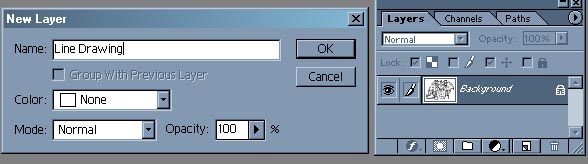
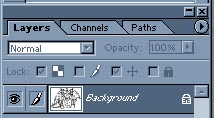
6) Double click on the Layer "Background" in the Layers Menu. If you do not see this menu, you can show the layers palatte by going to Window > Show Layers on the main menu bar. |
|

|
|
Name the layer "Line Drawing" so you don't get it mixed up with the other layers. |