|
7) Insert a New Layer by clicking on the little right triangle on the Layer's Menu. Name it "Color Layer".
|
 |
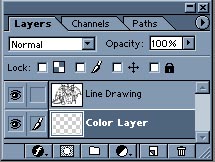 |
By clicking and dragging, you can position this new layer to be "under" the "Line Drawing" layer. Select the "Line Drawing" layer to continue. |
 |
|
|
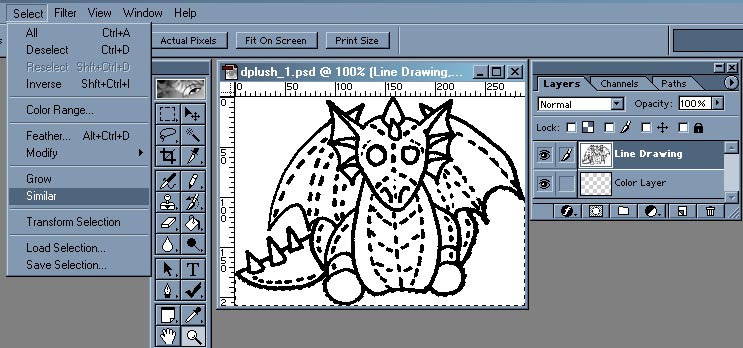
8) Take the magic wand tool and click anywhere there is a vast expanse of white. Under the select menu, goto "Similiar" and it will select everything that is like the color you just wanded. Be sure it is the WHITE and not the black. (this is why we started out with bitmap (Black and White) scanned image. If there are small details such as "shades of gray" you cannot select what you need as easily as you need to.So unless you want to sit there and manually erase all the white with the eraser tool... |
|
|
|
 |
8) Using the Magic Wand tool on the "Line Drawing Layer, click on the areas outside the borders of your drawing. Use SHIFT (held down) and click on other areas to ADD selections to what you have already lassoed. Once you have this, it should have "dancing ants" around all the areas around your figure.
|
To the Right you will see an example (at around 500% zoom) of a very bad outline. You can see both white and black pixels (when you should only seeb black) and you can see spaces in between the pixels where it should be solid. |
 |
Good lines (as seen on the right) are connected together. The outer edges are slightly thicker than those on the "inside" of the outline. |
 |
 |
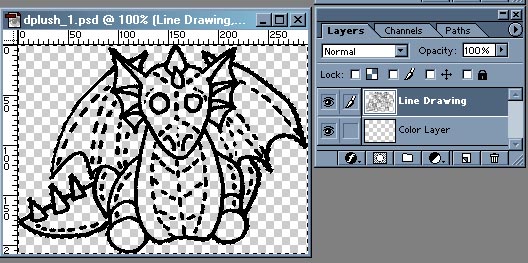
The Magic Wand Selector will select any areas of similiar color (or lack of color) until it runs into a boundary. If you do not make sure your outline is GAP-FREE (no space) you will have issues selecting the areas around your outline. Do not hurry and forget to make your outline solid. You will notice in this example that the dancing ants are dotting the areas I have selected via the magic wand and using SHIFT-CLICK to add more areas to the selection. If you did not check your outline, the selection process becomes quite evil, as it will sneak around th gaps and go into your drawing in places you don't want it to. Now, after you have done this, goto the Select Menu on the menu bar and click on the "INVERSE" or hit CTRL-SHIFT-I (shortcut) and this will select the area of your figure. Once this is done, click on the Color Layer. |
|
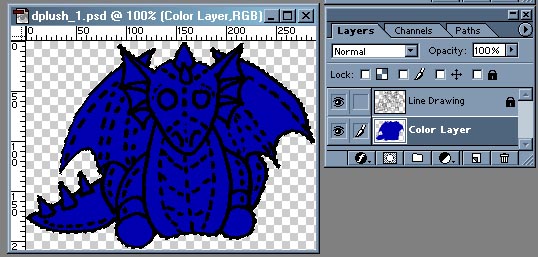
9) On your drawing, using the paint bucket , fill the color layer inside the area you have selected |
|
|
|
Your drawing will look something like this. Leave the selection active at all times, otherwise your attempts at painting it will go all over the place outside the borders of your drawing (which is a certifiable "BAD THING™" |